

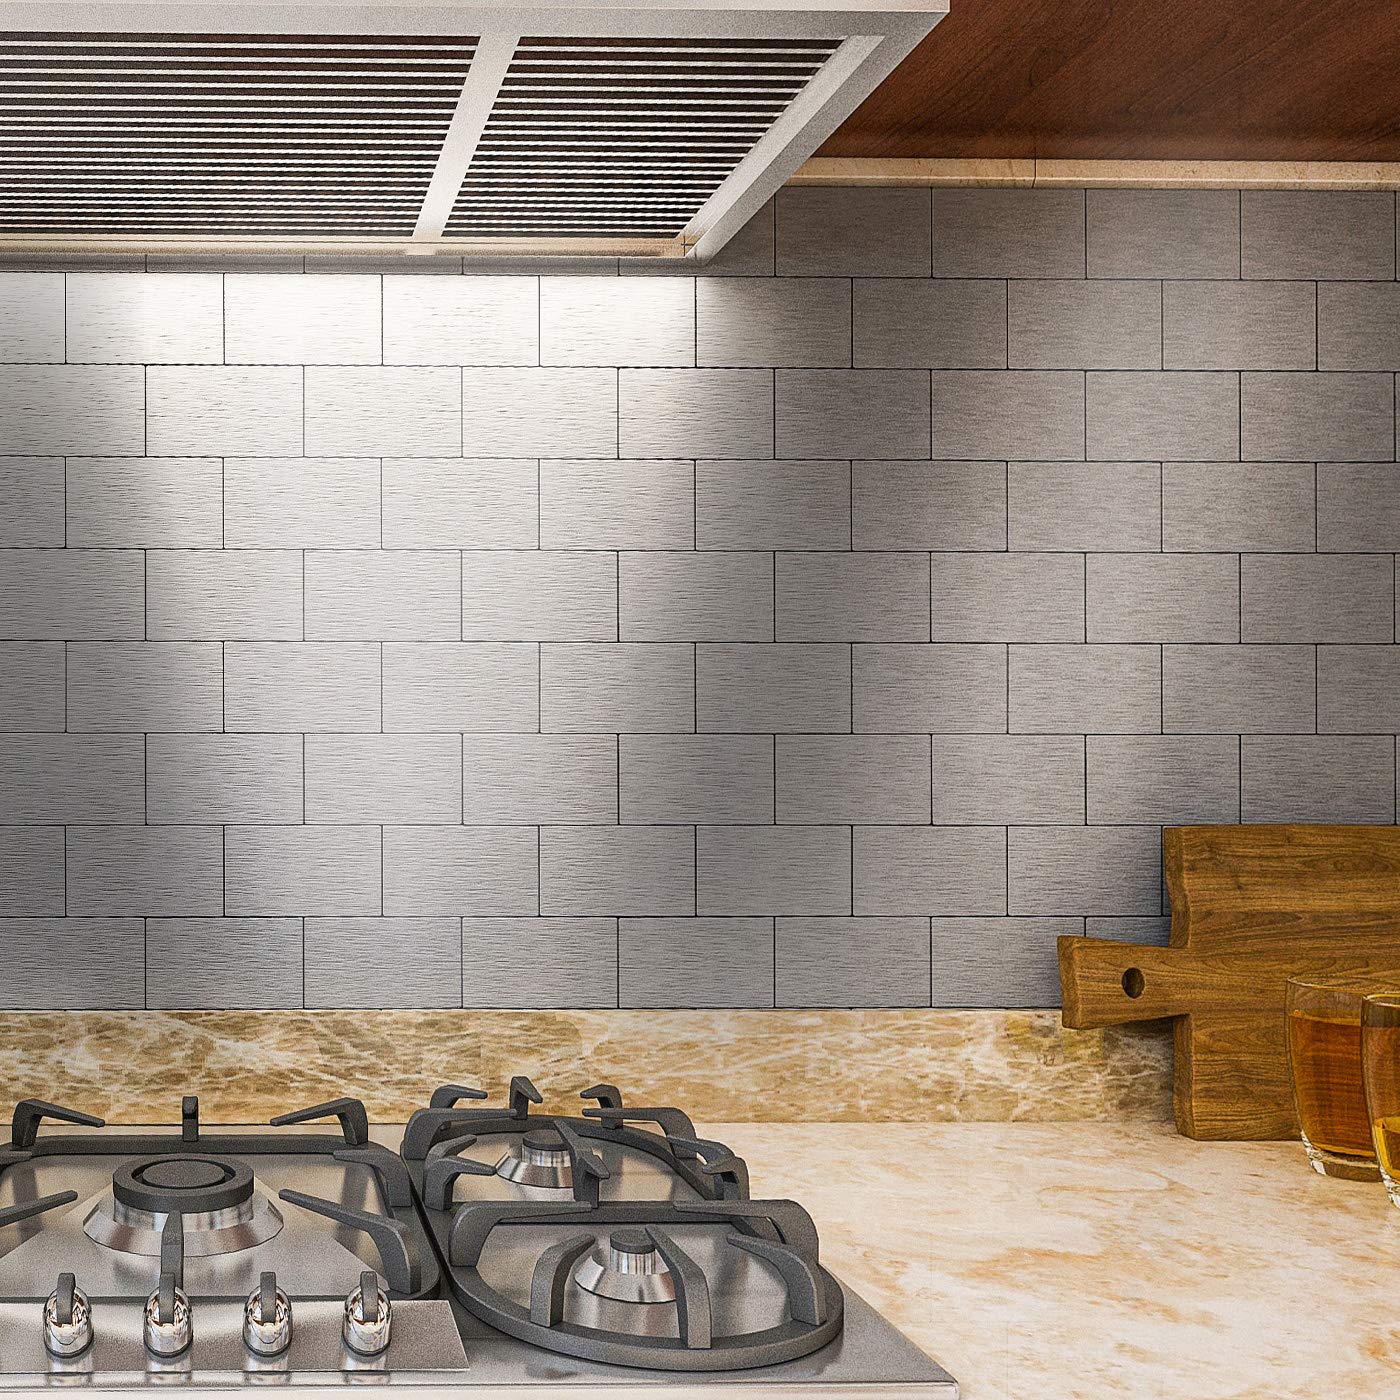


Art3d100-Pieces Peel and Stick Tile Kitchen Backsplash Metal Wall Tiles, Brushed Aluminium Subway
Details
- BrandArt3d
- MaterialAluminum
- Size100 tiles
- ColorAluminum
- Finish TypeMetal surface
- Stylesubway tile


Description
✨ Peel, Stick, Impress — Elevate Your Space in Minutes! 🏡
- ALL WEATHER READY - Heat, humidity, and water resistant—perfect for kitchens and bathrooms alike.
- GENEROUS COVERAGE - 100 tiles cover nearly 12 sq ft, letting you revamp large areas without hassle.
- SLEEK SUBWAY STYLE - Brushed aluminum finish adds a contemporary, professional edge to your space.
- DURABILITY MEETS DESIGN - Crafted with 10% aluminum and composite for a lightweight yet resilient backsplash.
- EFFORTLESS MODERN UPGRADE - Peel and stick installation means zero mess and instant style transformation.
The Art3d 100-Pieces Peel and Stick Metal Wall Tiles offer a premium brushed aluminum subway design that covers 11.8 sq ft. Made from a durable blend of aluminum and composite materials, these lightweight tiles resist heat, humidity, water, and scratches. Easy to install with a self-adhesive back, they provide a sleek, modern backsplash solution ideal for kitchens, bathrooms, and more, backed by a 2-year warranty.


Specifications
| Brand | Art3d |
| Material | Aluminum |
| Size | 100 tiles |
| Color | Aluminum |
| Finish Type | Metal surface |
| Style | subway backsplash tile |
| Installation Type | Peel and Stick |
| Product Dimensions | 6"L x 3"W |
| Pattern | Solid |
| Item Weight | 14.08 ounces |
| Shape | Rectangular |
| Item Thickness | 0.15 Inches |
| Edge Style | Square Edge |
| Unit Count | 100.0 Count |
| Item Display Dimensions | 6 x 3 x 0.15 inches |
| Recommended Uses For Product | Bathroom, Kitchen |
| Coverage | 11.8 square feet |
| Form Factor | Rectangular with square edges |
| Water Resistance Level | Water Resistant |
| Special Feature | Heat Resistant, Lightweight, Flexible, Humidity Resistant, Scratch Resistant |
| UPC | 712809586400 |
| Global Trade Identification Number | 00712809586400 |
| Manufacturer | Art3d |
| Part Number | FBA_A16021P100 |
| Item Weight | 14.1 ounces |
| Country of Origin | China |
| Item model number | FBA_A16021P100 |
| Is Discontinued By Manufacturer | No |
| Finish | Metal surface |
| Item Package Quantity | 1 |
| Number Of Pieces | 100 |
| Mounting Type | Wall Mount |
| Special Features | Heat Resistant, Lightweight, Flexible, Humidity Resistant, Scratch Resistant |
| Batteries Included? | No |
| Batteries Required? | No |
| Warranty Description | 2-year warranty |
Have a Question? See What Others Asked
Reviews
S**.
Beautiful and professional look at a GREAT price and extremely easy to install.
I have looked at many comparable items at Home Depot, Lowe's and all over the web. For the exact same thing you can easily pay $20 per square foot. This is by far a better bargain. It is almost half the cost and similar quality. This cut my cost and install time in more than half. I'm very particular and OCD. There are some subtle imperfections to a few tikes, but would not be noticeable to most people. I'm just picky. The tiles are very easy to cut. I suggest cutting them from the back so you do not damage the surface or face of the tile. If you have a sharp razor and score it a few times, the you simply bend it until it makes a pop, then you just bend the metal back and forth until It separates and it leaves a perfectly clean line. I even suggest taking a light grit sandpaper to dull the edge a little more, but it isn't sharp in the first place. A grinder worked well for some more intricate cuts. As for the other comment referring to them being slightly bowed. Some of them are ever so slightly bowed but it is very very simple to straighten out. As with any tile or finishing material, you should inspect it before you install. That's anything you do 101. Lol. Most of them are perfectly straight but as with anything else you will get some subtle variances. The adhesive on the back is very strong. As it states it is pressure-sensitive so the more you push on it the tighter the bond. I only had to remove a couple and I had to use a putty knife to get behind it and really work to get it off of the wall once it was secured. The overall installation and finished look is beautiful. I am a pretty Advanced DIY but any novice or beginner can conquer this job and make it look professional. I went with a standard layout for a simple clean look.
T**T
Cute!
I used them in a non-traditional fashion! 😆 They were perfect for using on a tall cabinet in my kitchen to accent my stainless appliances. It was my first time using them and cutting them, so some edges may look a bit obscure. Overall, they worked well for me. As always, with self stick items, I always use an additional spray adhesive for extra hold!
P**B
Very good value
I'm in the middle of my 1st time use. There's some key things to know, and some easy mistakes to make that need to be avoided.Out of the box take 1 sheet of 8 tiles and after pulling on the sheet edges to create a space in between the tiles carefully cut the plastic in between the tiles to separate them. (see pic) Warning: you should use high quality new blades in a solid box cutter / utility knife. Don't touch the tile surfaces with the knife as they're easy to scratch. Leave the protective plastic on each tile until installing each one. Make sure the surfaces where the tiles we be installed are clean and smooth. Measure and mark level lines on the wall to start. Caveat: You get one shot at sticking these tiles up so do everything you can think of before starting to put them up. I tried taking one off and it wrecked the tile and peeled off chunks of the sheet rock paper. You'll note that most tiles have a few small imperfections (dimples). I guess you get what you pay for. CUTTING: This is surprisingly easy. Use a clamp (pic) so tile won't move. Use a good amount of pressure to score the tile FROM THE BACK! You will only need to score the tile once through the foam side when it's done well. Making more than one scoring line can screw things up more than help. Keeping the score line straight is essential. If it is not, don't use the tile unless you have to and then use it in a low visibility area because any tile next to it will have a small gap. After scoring grab the tile with both hands and firmly snap it. You will be looking at foam side while snapping the two sides of the tile away from you. I was amazed at how easy and consistent this important step wasOnce ready to install a tile take the protective plastic off first then then adhesive side plastic off. Carefully line up one of the long edges and gently flatten the edge as snug as you can against its adjacent tile edge. Then flatten out tile pushing firmly. Make sure it is going to be properly placed before laying it. Tile removal is not a good option. I highly recommend starting in the least visible site. This way hopefully no one will notice your learning curve.I didn't give 5 stars because 1. Imperfections, 2. Inadequate instructions 3. Tiles virtually unremovable without causing more damage than it's worth.
E**T
Quick, cheap, and good looking backsplash/tiles
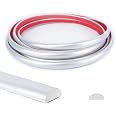
Important: prep the wall. Sand off as much of the texture as you can, wipe the dust off. Stick on as many tiles as you can at once, if doing corner aligned pattern like my backsplash (looks good in a small area, like behind the oven) you can leave all the tiles on the clear sheet.Make sure to start somewhere you can make them level. See my photos. I accidentally let some of the tiles on the right drop and left a small gap. I haven't decided if I will fix it or not. Set them in place very lightly, adjust, then press them hard to make them stick (semi permanent.I also recommend the same company's trim. In the photo you see the stainless steel trim. The trim and tiles are not metal, but look close enough. Again, my review for these are based on price and ease of install. Real tiles are certainly better, but take longer than the 30 min it took me to do this. Peel the sheet off after on the wall, but make sure not to get it under other tiles.This project started because my new oven doesn't have a back so needed the backsplash to fill the gap. My only complaint with the tile is it is easy to damage. Be careful not to pinch itself on the sheets and damage the edges (the sheets fold between tiles).
D**R
Buyer Beware
Do not buy this product. It is very inferior and cheap. There are glue bumps throughout all of the panels and when I spoke with the company regarding a refund, they only offered a partial. Not only do I find this to be extremely unsatisfactory but I have to rip all of this out And find an immediate replacement due to the fact that it will rip all the paper off the wall from the Sheetrock. I would stay away from this product unless you just don’t care how it looks.
Common Questions
Trustpilot
3 days ago
1 day ago
Get the App
